Installing a new air conditioning system represents a significant investment in home comfort and energy efficiency. Understanding the air conditioning installation timeline and process helps homeowners prepare effectively and set realistic expectations. This comprehensive HVAC installation guide covers system types, cost considerations, installation procedures, and preparation requirements for residential and commercial properties.
Professional installation requires careful planning, proper equipment sizing, and adherence to EPA regulations throughout the process. Whether upgrading an aging system or installing cooling in a new space, knowing what to expect reduces stress and ensures optimal results.
Key Takeaways
- Central AC dominates 66% of U.S. households, while mini-split systems offer superior zoned efficiency
- Installation timelines range from 4-8 hours for standard central AC to 1-3 days for full HVAC replacement
- The $5,000 Rule helps determine repair vs. replacement by multiplying system age by repair cost
- Proper load calculation and refrigerant recovery are critical AC installation steps for safe equipment setup
- Upgrading to 16-20 SEER systems reduces cooling costs by 20-40% annually
What Are the Main Types of Air Conditioning Systems?
Air conditioning penetration in U.S. homes reaches 88%, demonstrating widespread reliance on mechanical cooling for comfort. Central air conditioning serves as the primary cooling method for 66% of American households, establishing it as the dominant residential system. Analysis of 103 million housing units reveals central AC presence in 30.73% of all residences, while alternative systems like window and portable units account for less than 1% of installations.
Only 4.08% of housing units report having no AC equipment at all. This high adoption rate reflects both climate demands and the affordability of modern cooling technology across income levels.
How Do Central AC and Mini-Split Systems Differ?
Central AC systems distribute cooled air throughout homes via ductwork, providing consistent whole-home temperature control. Ductless mini-split systems deliver zoned cooling through individual wall-mounted units, eliminating the need for extensive duct networks. Central AC equipment remains hidden in basements or closets, while mini-split indoor units mount visibly on walls in each cooled space.
The fundamental difference lies in distribution methods: central systems require existing or newly installed ductwork, whereas what is a mini-split system installations need only small refrigerant lines connecting indoor and outdoor components. This makes mini-splits ideal for room additions, historic homes, and spaces where ductwork installation proves impractical.
What Factors Influence System Choice by Region and Demographics?
Southern and Southwestern states like Texas and Florida exceed 90% AC penetration due to extreme heat. Northeast adoption ranges 60-75%, reflecting milder summer conditions and lower cooling demand. Younger homeowners ages 25-34 prefer smart thermostats and ductless mini-split systems for their flexibility and efficiency.
Older adults age 55 and above favor traditional central air conditioning for its established reliability. Higher-income households earning over $100,000 annually opt for high-SEER central systems or multi-zone mini-splits, prioritizing long-term energy savings over initial costs.
What Are the Key Features and Benefits of Each System?
SEER measures air conditioning efficiency, with higher numbers indicating better performance and lower operating costs. Central AC standard efficiency ranges from 13-16 SEER, while premium models achieve 16-21+ SEER ratings. Mini-split high-efficiency units deliver 16-20 SEER, and premium models reach exceptional 25-30+ SEER performance.
Central AC suits single-family homes with existing ducts, providing whole-home comfort but consuming more energy. Mini-split systems excel in additions, historic homes, and garages where ductwork doesn't exist, offering superior efficiency but requiring visible indoor units.
How Do Costs Compare for Different AC Systems?
Central AC installation costs reflect equipment capacity, efficiency ratings, and ductwork condition. Standard 13-16 SEER systems installed in homes with existing ducts range from $3,500 to $7,500 for complete installations. Premium 16-21+ SEER central systems cost $5,000 to $12,000, with prices increasing for larger homes requiring higher-capacity equipment.
Homes needing new ductwork face substantially higher expenses, often adding $3,000 to $10,000 to total project costs. Geographic location and local labor rates also influence final pricing, with urban markets typically commanding premium installation fees.
What Is the Typical Price Range for Central AC Installations?
Standard central AC installations for 1,500-2,000 square foot homes average $4,500 to $7,000, including labor. Multi-story homes or properties requiring extensive ductwork modifications push costs toward the upper range. Equipment quality, warranty length, and contractor reputation significantly impact pricing, with established companies charging premiums for reliability.
System replacements generally cost less than new installations since existing infrastructure remains in place. However, modern units are 20-50% larger than older models, occasionally requiring platform modifications to accommodate increased dimensions.
How Much Does a Mini-Split Installation Typically Cost?
The U.S. mini-split market reached $1.4 billion in 2024 and is projected to reach $1.5 billion in 2025. Global ductless mini-split market growth from $19.4 billion in 2026 to $34.42 billion by 2033 reflects surging demand. Market analysts forecast a CAGR of 7.2% to 8.2% for ductless systems, driven by efficiency advantages.
Mini-split systems carry higher initial equipment costs per square foot compared to central AC. Single-zone installations range from $3,000 to $5,500, while multi-zone systems serving three to four rooms cost $8,000 to $14,000 installed.
What Financial Factors Should Homeowners Consider?
Contractor reputation ranks extremely or very important to 92% of homeowners making HVAC decisions. Warranty coverage scores similarly high at 86%, while pricing importance reaches 85% among surveyed buyers. Only 27% of homeowners consider financing terms highly important, suggesting most prefer to evaluate total cost.
Upgrading from 10 SEER to 16-20 SEER reduces cooling costs by 20% to 40% annually. This efficiency gain, combined with available utility rebates and tax credits for energy-efficient upgrades, significantly improves long-term return on investment despite higher initial equipment expenses.
When Should You Repair Vs. Replace Your AC System?
System age and repair frequency determine whether homeowners should invest in repairs or commit to replacement. Units under 10 years old with minor component failures typically justify repair costs, especially when maintenance history shows consistent care. Systems approaching or exceeding 12-15 years face declining efficiency and increasing breakdown frequency, making replacement more economical.
The decision balances immediate repair expenses against long-term operating costs and reliability concerns. Professional contractors evaluate multiple factors, including refrigerant type, component condition, and efficiency ratings, when advising customers.
What Consumer Priorities Affect Repair or Replacement Decisions?
Homeowners prioritize contractor reputation over all other factors when facing major HVAC decisions. Warranty coverage provides peace of mind against future failures, influencing choices between repair and replacement options. Transparent pricing allows accurate comparison between repair costs and new system investments, though upfront cost alone rarely determines final decisions.
Equipment age and efficiency ratings weigh heavily in replacement considerations, particularly for systems using obsolete refrigerants. Knowing AC repair vs. replacement key signs helps homeowners make informed choices that balance budget constraints with long-term value.
What Expert Guidelines Help Decide Between Repair and Replacement?
The $5,000 Rule provides a clear decision framework: multiply system age by repair cost. If the total exceeds $5,000, replacement typically offers better value than repair. Compressor or evaporator coil failure repair costs range from $1,350 to $2,300, often triggering replacement discussions for systems over 10 years old.
Frequent breakdowns indicate end-of-life deterioration requiring full system replacement rather than repeated component repairs. Multiple component failures signal systemic deterioration that repairs cannot adequately address, particularly in systems using R-22 refrigerant, facing exorbitant recharge costs.
How Do Maintenance and ROI Impact This Decision?
Annual maintenance visits cost between $120 and $350, protecting system investment through early problem detection. Neglecting maintenance can reduce system lifespan by 5 to 10 years, eliminating anticipated return on investment. Regular service maintains efficiency ratings and prevents premature component failures that accelerate replacement timelines.
Cooling unused rooms with central AC wastes significant energy compared to zoned mini-split systems. Understanding HVAC replacement costs helps homeowners budget appropriately and recognize when efficiency improvements justify new equipment despite remaining system life.
What Is the Typical Timeline for AC Installation?
Installation duration depends on system type, home configuration, and equipment complexity. Professional contractors provide accurate timeline estimates during initial consultations after assessing specific site conditions. Scheduling typically requires coordination around equipment delivery, permitting requirements, and contractor availability.
Homeowners should plan for minimal disruption during standard installations, though complex projects may require multi-day scheduling. Weather conditions, unexpected structural issues, and equipment availability can affect projected completion times.
How Long Does Central AC Installation Take?
Standard central AC installation takes 4 to 8 hours for straightforward replacements with existing ductwork. Experienced teams complete most single-day installations efficiently, minimizing household disruption and restoring cooling quickly. Full HVAC system replacement, combining AC and furnace, takes 1 to 3 days, depending on equipment complexity and home layout.
Complex installations involving ductwork modifications or electrical upgrades extend timelines beyond standard estimates. Commercial AC installation in San Dimas projects often requires longer durations due to larger equipment capacities and more extensive system requirements.
What Is the Duration for Mini-Split Installation?
Single-zone mini-split installation takes 4 to 8 hours for typical residential applications. Technicians complete mounting, line installation, and commissioning efficiently in most single-room installations. Multi-zone mini-split installation takes 1 to 2 days, with additional time required for each indoor unit.
Installation complexity increases with the number of zones served and building structural characteristics. Challenging installations through brick or concrete walls require additional drilling time and specialized equipment.
What Variables Affect Installation Timing?
Modern AC units are often 20-50% larger than older models, requiring platform modifications or relocation. Equipment size changes can extend installation timelines when outdoor pad replacement or repositioning becomes necessary. Unexpected ductwork damage discovered during coil installation adds time for repairs and proper sealing.
Permitting requirements and inspection scheduling vary by jurisdiction, potentially delaying project completion. Material availability, particularly for less common refrigerant line sizes or specialty components, occasionally extends project timelines beyond initial estimates.
What Are the Key Steps in the AC Installation Process?
Professional installation follows a systematic sequence ensuring safety, efficiency, and code compliance. Each phase builds upon previous work, requiring precision and adherence to manufacturer specifications. Experienced technicians coordinate multiple tasks efficiently, minimizing installation time while maintaining quality standards.
Understanding AC installation steps helps homeowners recognize proper procedures and identify potential quality issues. Comprehensive installations include equipment removal, site preparation, precise connections, and thorough testing before customer handoff.
How Is the Equipment Size and Load Calculated?
Load calculation determines the correct equipment size for AC installation based on home dimensions and insulation. Planning and assessment begin when contractors perform detailed load calculations considering window sizes, orientation, and local climate. Proper sizing prevents short cycling, ensures adequate dehumidification, and maximizes system efficiency and lifespan.
Oversized equipment cycles frequently, wasting energy and reducing comfort through inconsistent temperature control. Undersized systems run continuously during peak demand, failing to maintain desired temperatures and consuming excessive energy.
What Happens During Equipment Removal and Site Preparation?
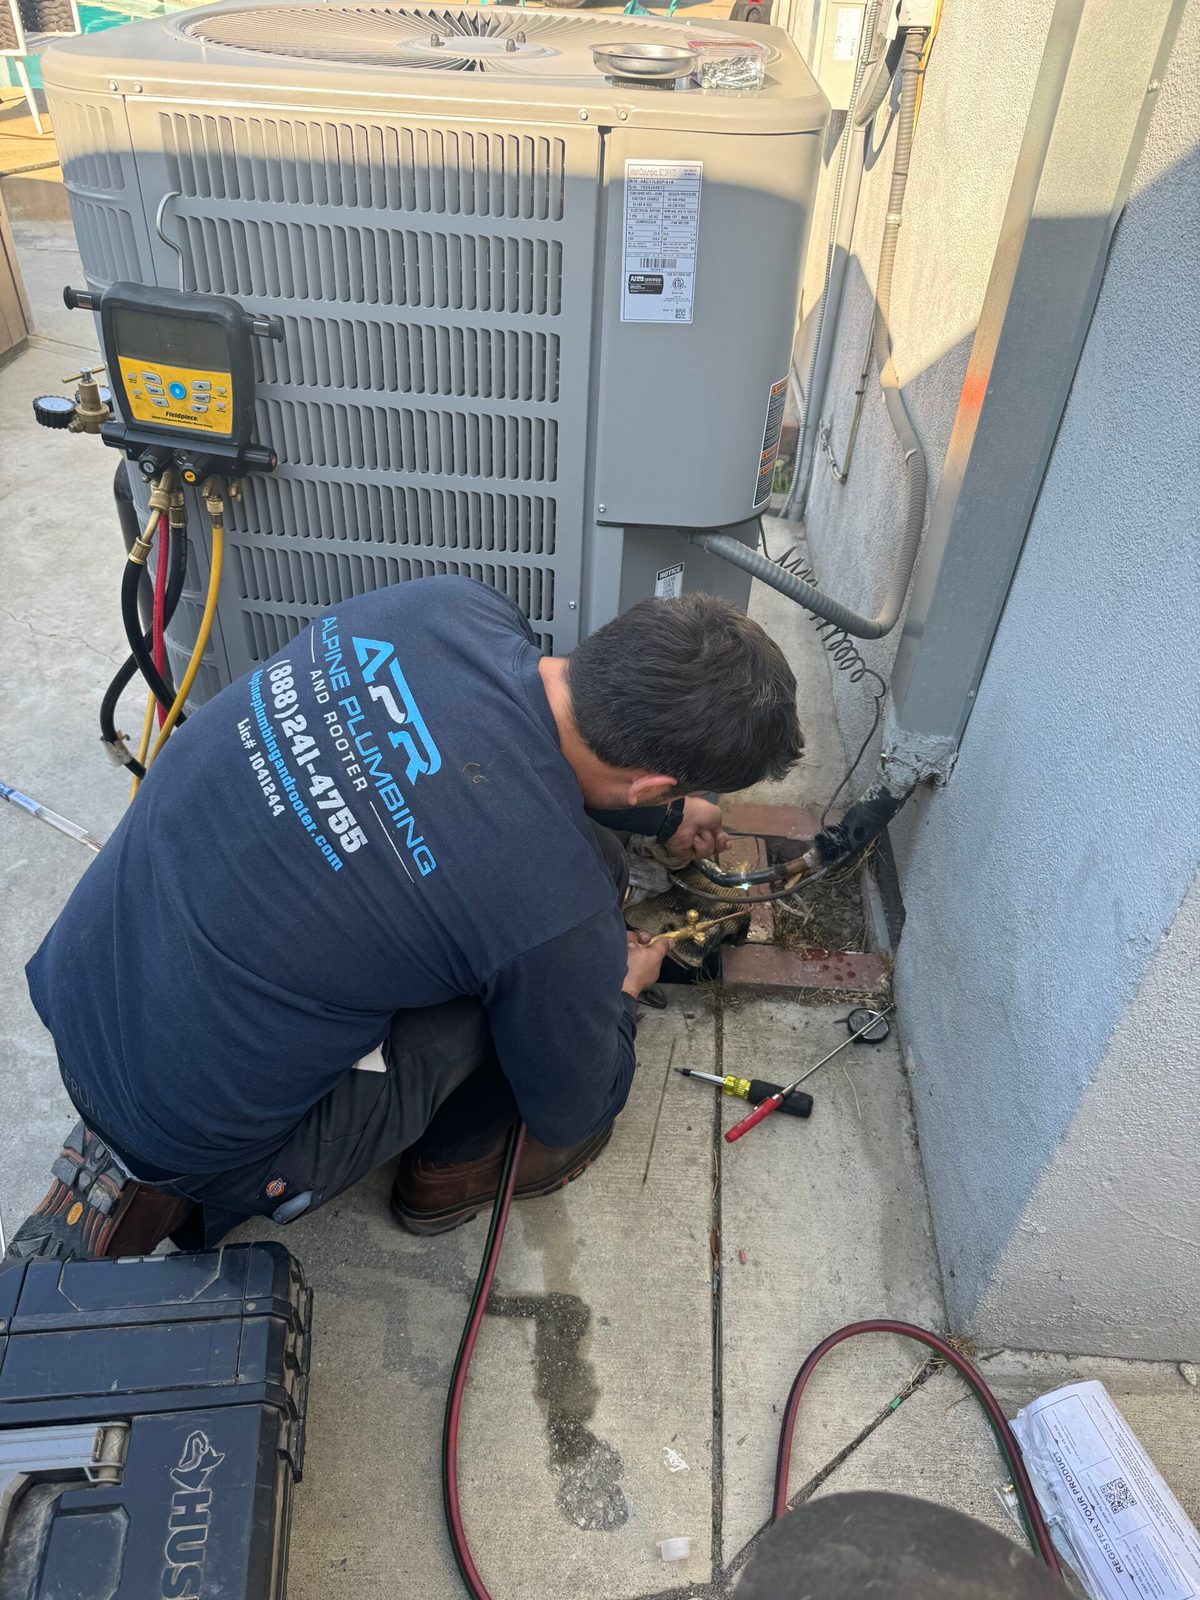
Recovery machines are specialized tools used to safely remove and contain old refrigerant per EPA regulations. R-22 represents a phased-out refrigerant type requiring careful recovery to prevent environmental release and legal penalties. Refrigerant recovery technicians use approved recovery machines before disconnecting any refrigerant-containing components.
Equipment removal involves disconnecting and removing the old condenser, indoor coil, and electrical disconnects safely. Site preparation includes leveling the outdoor ground and installing a composite pad that supports the new condenser while absorbing vibration.
How Are Refrigerant Lines Installed and the System Commissioned?
Indoor coil installation places the evaporator coil above the furnace and seals it to the plenum. Proper sealing prevents air leaks that reduce efficiency and compromise system performance throughout its operational life. Line set installation runs new copper refrigerant lines between indoor and outdoor units using precise bending techniques.
Outdoor unit placement finalizes condenser positioning and completes electrical and refrigerant connections according to manufacturer specifications. Testing and commissioning charge the system with refrigerant, test airflow, and verify temperature differentials, ensuring optimal performance. Reusing old refrigerant lines is discouraged due to incompatible oils between R-22 and modern refrigerants.
How Should Homeowners Prepare for AC Installation?
Proper preparation ensures smooth installation and protects property from potential damage during equipment handling. Homeowners should complete preparation tasks before installers arrive to maximize efficiency and avoid delays. Clear communication with contractors about access requirements and household concerns prevents misunderstandings and ensures satisfactory results.
Advance preparation also helps identify potential obstacles requiring resolution before installation day begins. Taking proactive steps demonstrates professionalism and establishes positive working relationships with installation teams.
What Should Be Done Before Installers Arrive?
Clear access paths to furnace areas, electrical panels, and outdoor condenser locations facilitate efficient equipment movement. Remove fragile items, furniture, and decorations from work areas to prevent accidental damage during installation. Ensure pets are secured in separate rooms away from work zones to protect both animals and technicians.
Confirm installation appointment times and verify technician arrival windows to ensure someone remains home throughout the process. Review final equipment selections and installation plans with contractors to address any last-minute questions or concerns.
How to Coordinate Access and Protect the Home?
Designate parking areas for service vehicles and equipment staging near installation locations when possible. Protect flooring in high-traffic areas using drop cloths or protective coverings provided by professional contractors. Mark sprinkler heads, landscape features, and underground utilities near outdoor condenser locations to prevent accidental damage.
Communicate with neighbors about potential noise during installation, particularly for multi-day projects affecting shared walls. Arrange alternative cooling arrangements if installation occurs during extreme heat, especially for vulnerable household members.
What Questions to Ask Your Installer?
Request clarification on warranty coverage, including parts, labor, and duration of manufacturer and contractor guarantees. Verify technician licensing, insurance coverage, and company credentials to ensure qualified professionals perform the installation. Ask about expected completion time, potential complications, and contingency plans for unexpected issues discovered during work.
Discuss HVAC maintenance tips for summer to understand ongoing care requirements and optimization strategies. Inquire about thermostat programming, filter replacement schedules, and recommended maintenance intervals to maximize system lifespan and efficiency.
What Can Homeowners Expect During and After Installation?
Installation day begins with equipment delivery and technician introductions explaining the planned work sequence. Professional crews work systematically through each installation phase, maintaining clean work areas and minimizing household disruption. Noise levels vary throughout the process, with refrigerant line installation and outdoor unit placement generating the most sound.
Homeowners should expect periodic updates on progress and immediate notification of any unexpected complications requiring decisions. Most installations proceed smoothly when proper planning and preparation occur beforehand.
How Is System Performance Verified?
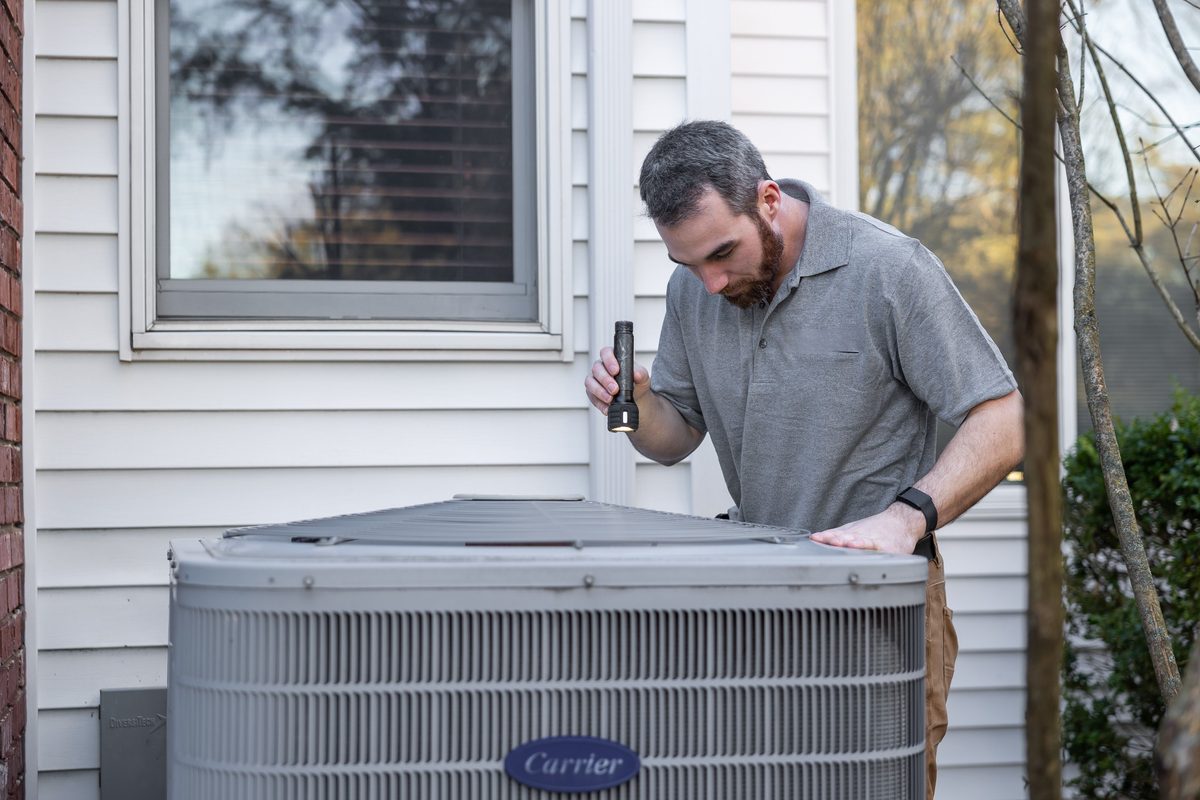
Technicians measure supply and return air temperatures to verify proper system operation and adequate cooling capacity. Airflow testing confirms duct connections and indoor coil installation meet manufacturer specifications for optimal performance. Refrigerant charge verification ensures correct levels for maximum efficiency and prevents premature compressor failure.
Electrical connections undergo thorough inspection to confirm safe operation and code compliance before final commissioning. Thermostat programming receives verification to ensure proper system response and efficient cycling patterns match homeowner preferences.
What Post-Installation Support and Maintenance Are Recommended?
Mini-split systems require regular filter cleaning to maintain airflow and efficiency, typically monthly during heavy use. Professional contractors provide operation instructions covering thermostat use, filter maintenance, and basic troubleshooting procedures. Warranty registration should occur immediately after installation to activate coverage and ensure future service eligibility.
Schedule the first annual maintenance visit six months after installation to verify continued optimal performance. Understanding when to perform routine tasks like cleaning your outdoor AC unit extends equipment life and maintains efficiency ratings throughout ownership.
What Common Installation Challenges May Arise?
Air leaks can occur if the indoor coil is not properly sealed to the plenum during installation. Insufficient refrigerant charge results from incorrect calculations or leaks during line set installation, requiring immediate correction. Ductwork modifications sometimes reveal hidden damage requiring additional repairs not included in the original project estimates.
Electrical service upgrades occasionally become necessary when existing panels lack capacity for modern high-efficiency equipment. Recognizing emergency AC repair warning signs helps homeowners distinguish between normal break-in issues and genuine problems requiring contractor attention.
The AC Installation Process: Balancing Choices, Costs, and Expectations
The global HVAC market reached valuations between $263 billion and $299 billion in 2024. Projections indicate market growth to $445.7 billion by 2033, reflecting a CAGR of 6.4% to 7.0%. This expansion demonstrates increasing worldwide demand for climate control and energy-efficient cooling solutions across residential and commercial sectors.
Understanding system options, installation requirements, and maintenance expectations empowers homeowners to make confident decisions about cooling investments. Preparing the home for AC install through proper planning, site preparation, and contractor communication ensures successful outcomes and long-term satisfaction. Whether selecting between central AC and mini-split systems or deciding repair versus replacement, informed choices deliver optimal comfort and efficiency for years ahead.
Professional installation by licensed, experienced contractors like Alpine Plumbing, Heating, and Air ensures code compliance, warranty protection, and reliable performance. Their expertise in load calculations, refrigerant handling, and system commissioning prevents common issues that compromise efficiency and lifespan.
Ready to Install Your New AC System the Right Way?
A new air conditioner is a big investment, and the installation matters as much as the equipment you choose. Alpine Plumbing, Heating, and Air handles every step with care, from accurate load calculations and safe refrigerant recovery to final testing that confirms your system runs at peak efficiency. Our licensed technicians serve homeowners across Southern California and Lake Havasu City, AZ, with honest guidance and clean, professional work.
Talk with our team about your AC installation and get a free estimate. We will walk you through your options, answer your questions, and set realistic expectations so you know what to expect on installation day.